In the Test Kitchen: organic chicken
Three Techniques for Chicken That's Finger-Licking Good

Whether you're roasting a whole bird, dicing thighs for a stir-fry, or flipping boneless breasts on the grill, chicken is a weeknight staple and the foundation for so many meals. Yet we rarely pause to really consider (or taste) its flavor.
We've all heard the idiom, "Tastes like chicken!" Now nearly a cliché, chicken's amiable yet plain taste is used to make unusual proteins — tuna, frog, turtle, alligator & even snake —accessible. While it helps to make these novel "white meats" more familiar, this phrase also unfortunately (and perhaps unintentionally) devalues the true flavor of chicken as, well, boring.
Organic chicken has a delicious flavor that's mild but definitely discernable. Not watery and far from flavorless, it is a noticeable difference from lackluster conventional chicken.
So for this test kitchen, we set out to reclaim that common refrain to mean more than mundane by finding ways to allow the natural, delicious flavor of organic chicken shine.
Knowing that chicken is on regular rotation for most weekly meal plans, our Marx Foods test kitchen dynamic duo Jade and Liv prepared recipes and tested techniques that are weeknight-friendly using minimal hands-on prep time and pantry staple ingredients.
DRY BRINING
The Technique:
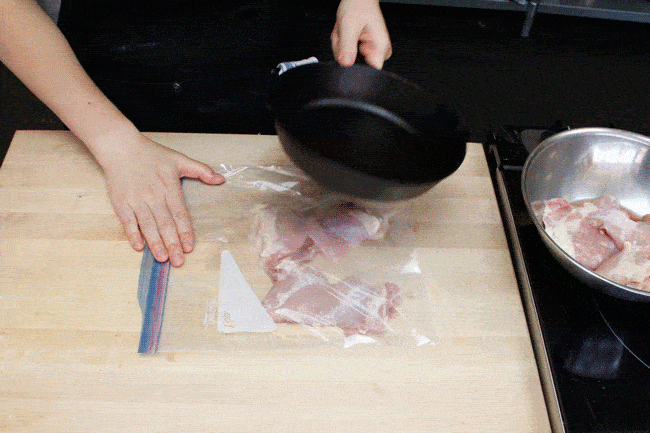
Dry brining is generously salting meat and letting it rest for a period of time before cooking. Liv and Jade both used dry brining in their recipes.
Dry brining doesn't introduce additional moisture, which is especially important if you want to get crispy skin on a roasted chicken.
The Inspiration:
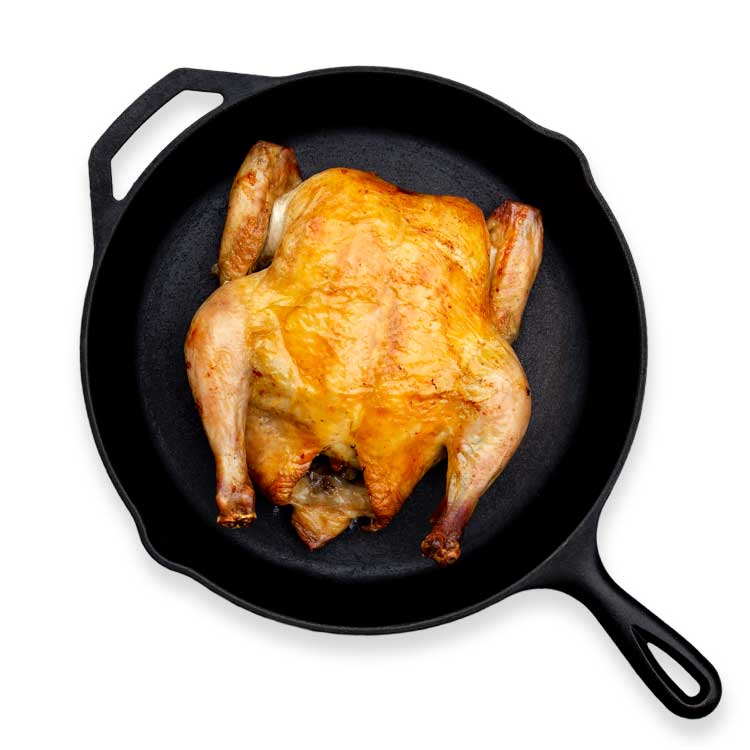
Jade tested a dry-brining and multi-flip roasting method to get the perfect golden brown hue and shatteringly crispy skin, using the Zuni Café Cookbook chicken recipe as her foundation.
"I was team Thomas Keller three ingredient chicken, but I wanted to try the Zuni recipe to see if dry brining is worth the extra prep."
The Process:
It can take several days to dry-brine a whole chicken. Though it's a long wait and requires a little bit of advanced planning, most of the prep is very hands-off.
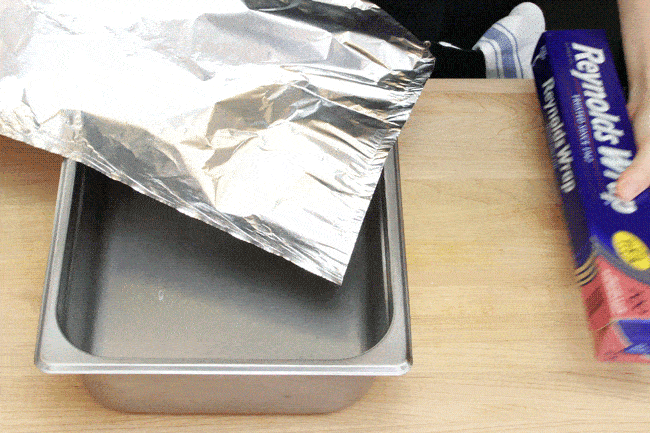
For a whole chicken, start from thawed. If your bird is frozen, unwrap it and allow it to defrost in the refrigerator on a rack fitted inside a small pan (you can create a makeshift rack like Jade did with pieces of crunched up tinfoil). This helps to jumpstart the air-drying process.
During thawing and dry brining, keep the chicken uncovered and elevated on that rack to allow air to circulate. Air drying supports the brining and helps you get the crispiest skin.
"Dry brining is definitely preferred over wet brining," says Jade. It also helps to concentrate the flavor, which is one of our main goals in the test kitchen. "In my experience, wet brining produces 'juicier' but more bland results. The intensity of the flavor and crispy skin from the dry brine is so much better."
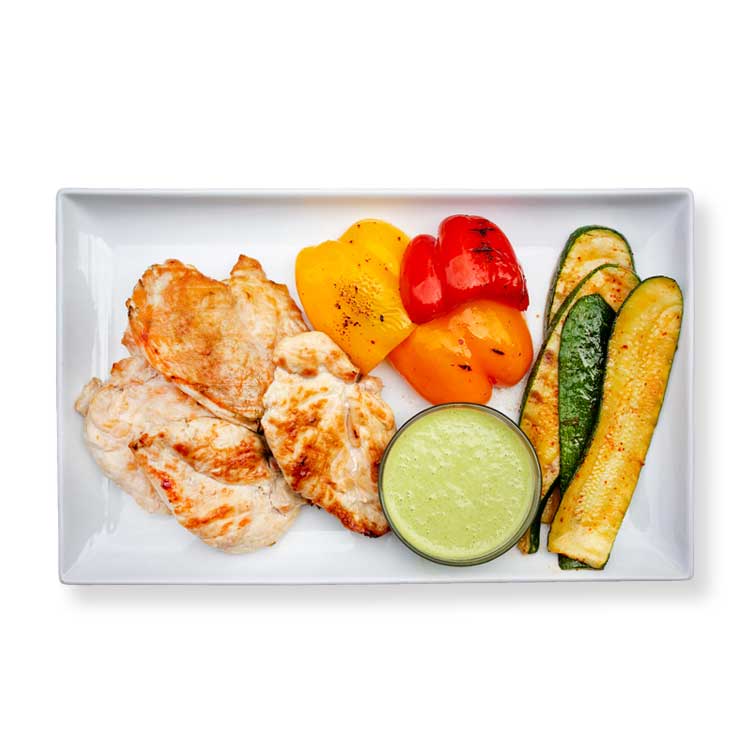
For lean and thin cuts like boneless chicken breasts, you only need about half an hour.
"Dry brining helps the cells to retain more moisture during grilling so the breasts don't get dried out. It allows for a little bit more crispness and really good grill marks," Liv says.
The Results:
This technique is definitely worth the time & effort.
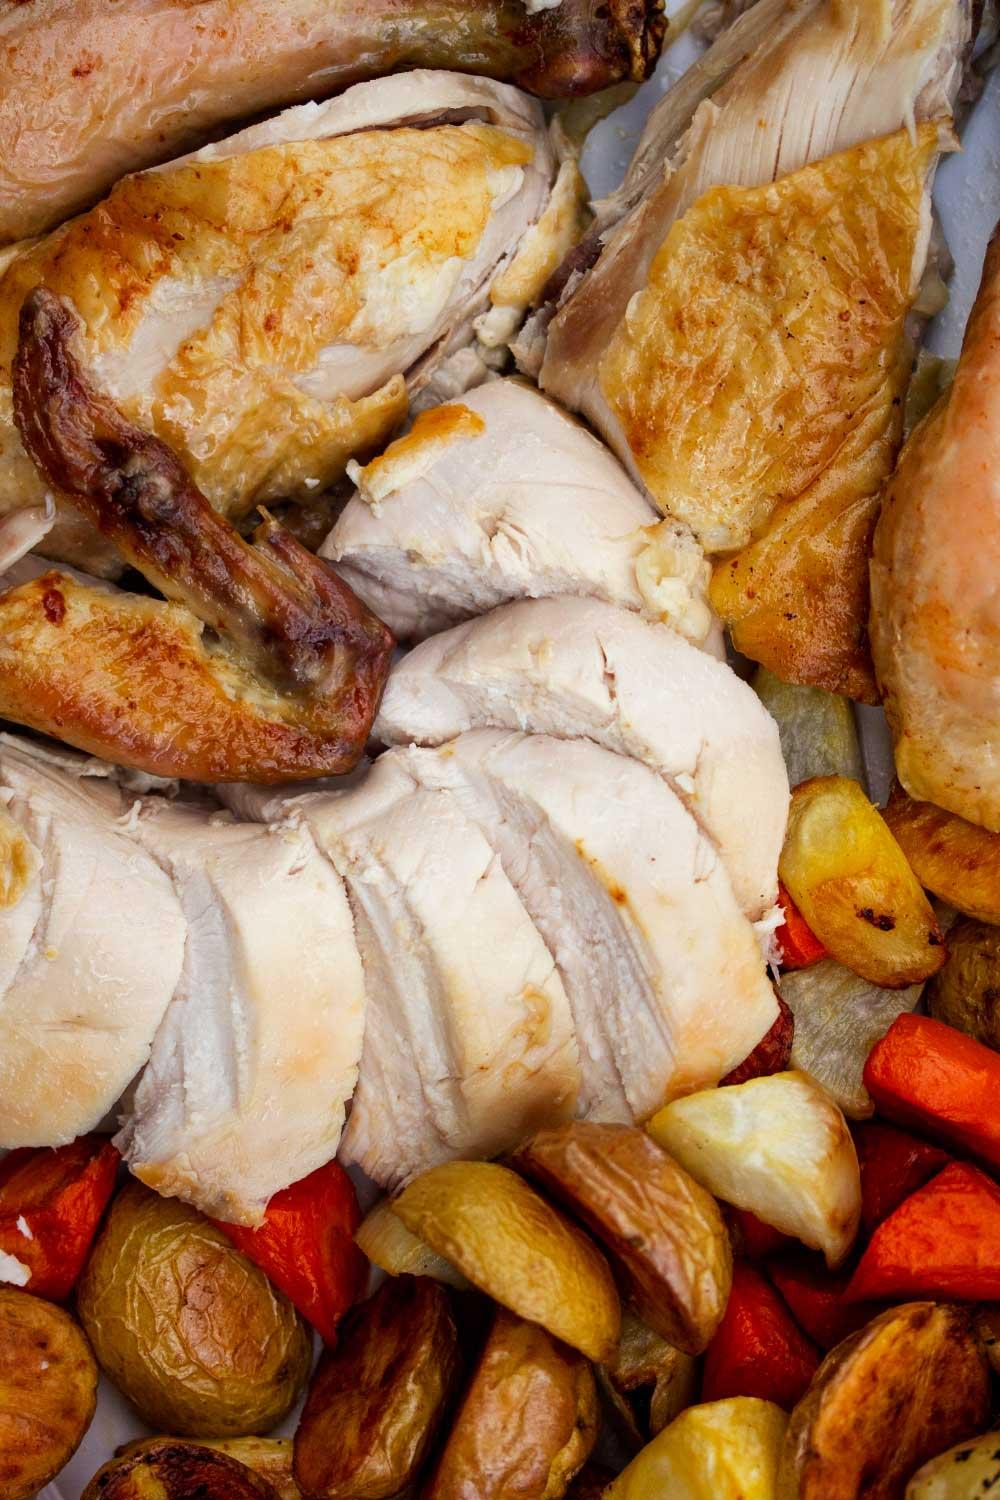
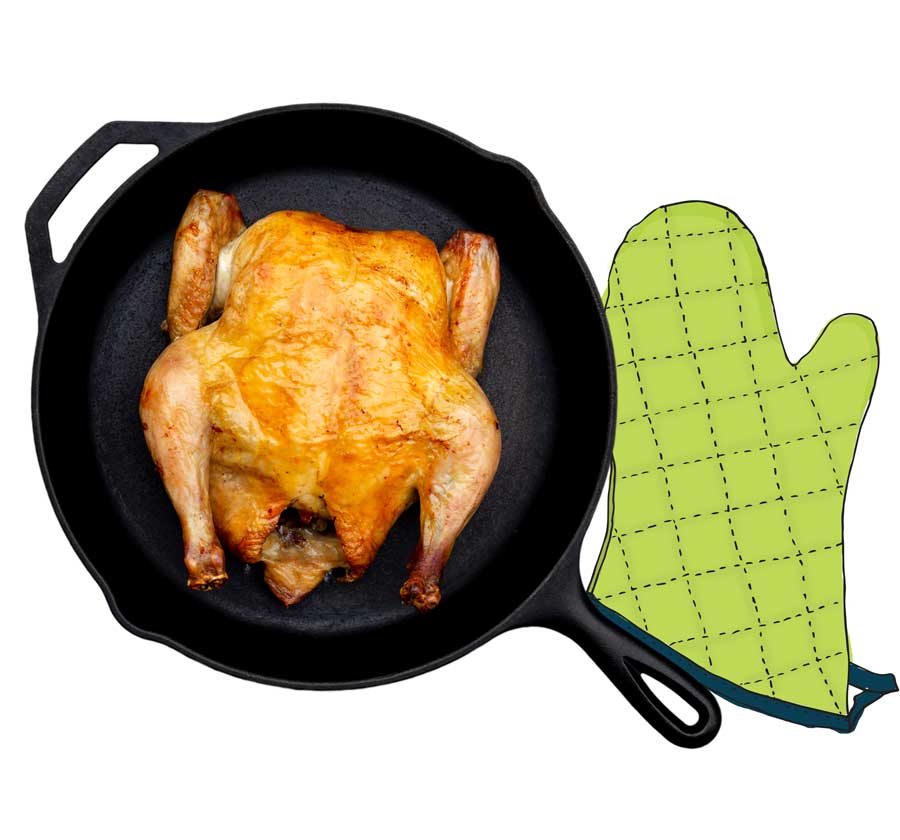
The combination of air drying, dry brining and flipping the chicken a few times during roasting yielded skin that was perfectly and uniformly golden brown and shatteringly crispy. The meat was juicy, tender and incredibly flavorful. (See Jade's Roast Chicken Recipe)
The chicken breasts were juicy and even more flavorful than we were expecting! (See Liv's Easy Grilled Chicken Breasts Recipe)
"Brining lean cuts is the way to go, for sure. The dry-brine is super easy and produced good results," says Liv. "I was really impressed with the flavor!"
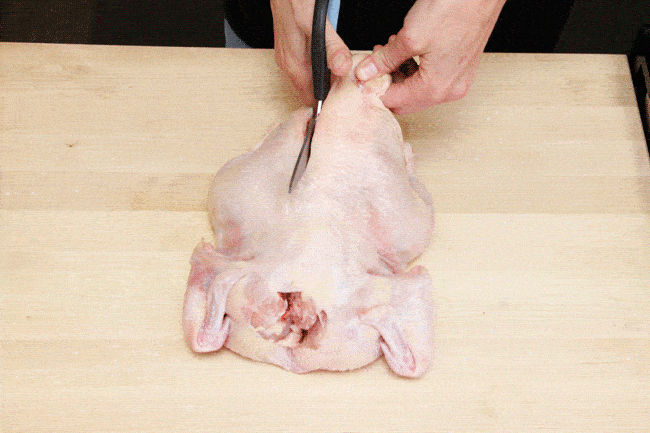
SPATCHCOCKING
The Technique:
Spatchcocking (or butterflying) is the method of removing the chicken's backbone. This helps both sides to cook evenly and reduces overall cooking time.
"Spatchcocking is super easy!" Liv says. "It seems intimidating, but all you need is a good pair of shears. It takes much less skill and experience than most butchery."
The Inspiration:
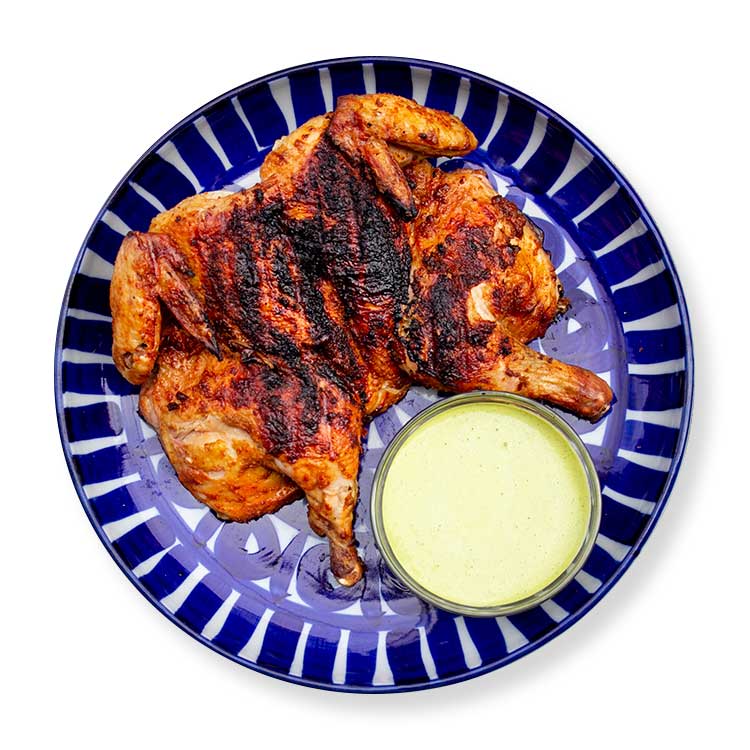
In full celebration of summer, Liv set out to grill a whole chicken in less than an hour with meat that was evenly cooked and remained succulent and juicy (not dried out or underdone).
"Spatchcocking is the only way to grill a chicken and have it all finish around the same time," says Liv. "It makes a bird so much easier to deal with on the grill."
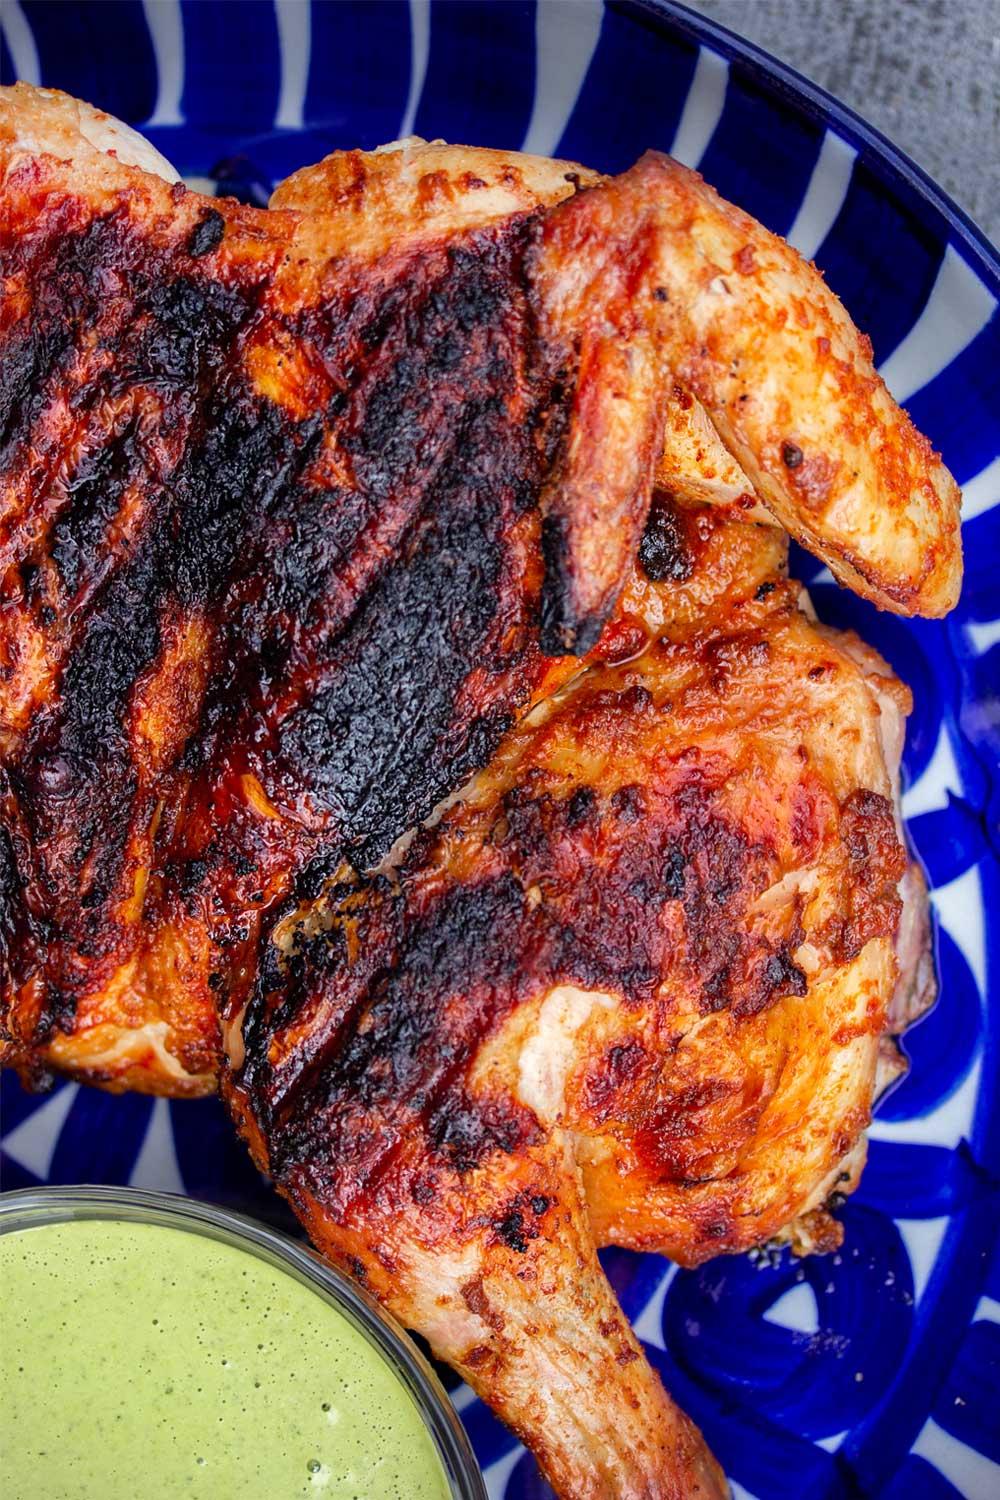
She slathered the chicken in a delicious savory, spicy rub and grilled it using a two-zone direct fire, and created convection by aligning the grill's vents, which helped the chicken cook quickly and evenly.
The Process:
Pat the chicken as dry and lay it breast side-down on a cutting board. With sharp shears, cut vertically along each side of the backbone.
Flip the chicken over and lay it as flat as you can. Then press on the thickest part of each breast to flatten the chicken.
Season both sides before grilling or roasting.
The Results:
Spatchcocking produced thighs and breasts that were evenly cooked and succulent. (No dried out breast meat here!) It also made it much easier and faster to grill a whole chicken. Liv was done in about an hour, including the time she needed to prepare the coals and preheat the grill. (See Liv's Smoky Spatchcocked Grilled Chicken Recipe)
Spatchcocking isn't just for grilling. You can also roast spatchcocked chickens in the oven with similar results.
POUNDING TO EVEN THICKNESS
The Technique:
The most straight-forward of all the techniques we tested, pounding boneless chicken breasts and thighs is simply the process of flattening each piece to an even and consistent thickness.
Since these lean cuts are easier to overcook and can dry out, pounding them to an even thickness ensures succulent, juicy and perfectly cooked meat. It can also help to reduce the cooking time.
The Inspiration:
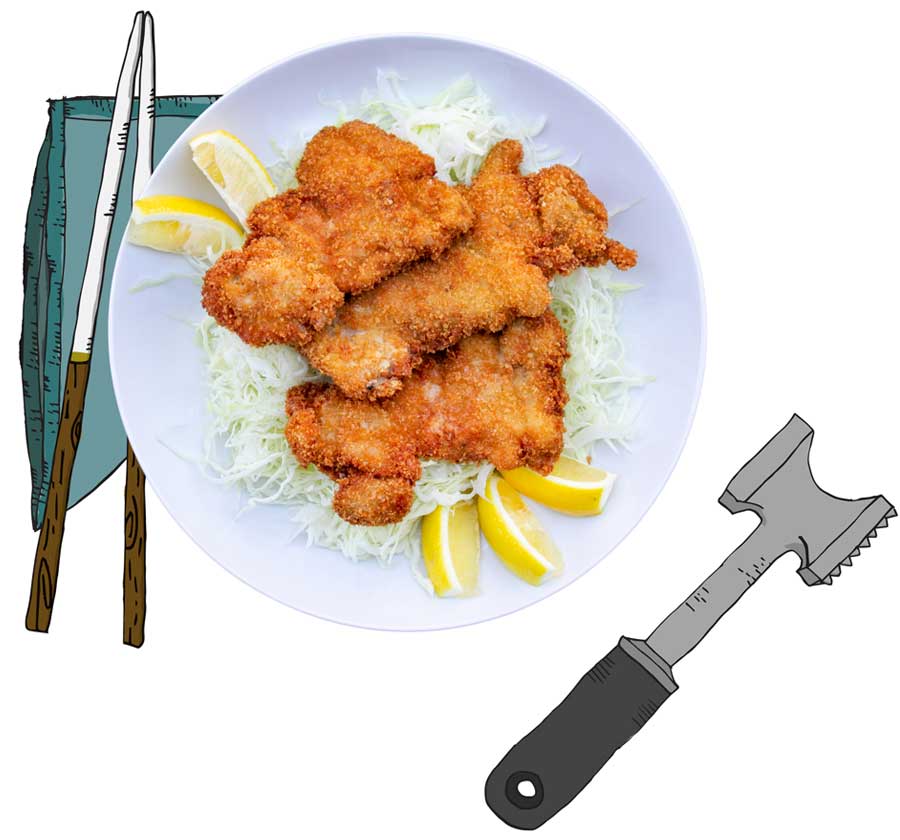
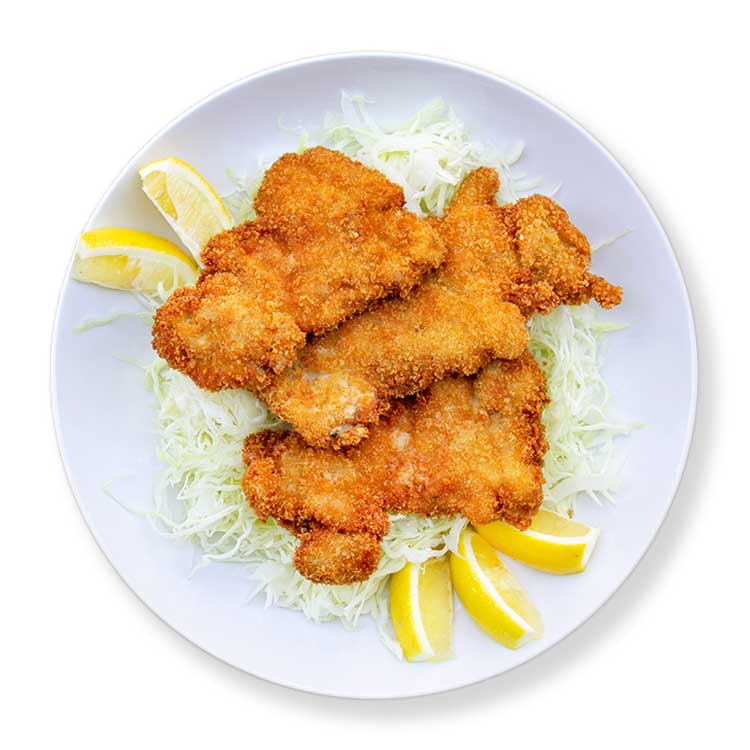
For the boneless skinless chicken thighs, Jade created a classic crowd-pleasing katsu.
"Katsu is my fried chicken of choice," Jade says. "No brine or marinade is needed and it's a shallow fry, so you only need about a half an inch of oil."
Liv tested grilling boneless skinless chicken breasts that were seasoned only with salt (from the quick dry brine) and pepper, enhanced by the smoky flavors from the grill. This simple seasoning helped the natural flavor of the chicken to really shine.
The Process:
For boneless skinless breasts, carefully pound the entire piece evenly.
Boneless thighs to be irregular in shape and thickness, so you don't need to pound the entire piece thin. Just look for and only pound the thickest parts so they're even with the thinnest sections.
Thickness will vary depending on the recipe. In general, aim for an inch thick or less with breasts. Thighs may be more variable, depending on how thin the thinnest parts of the cut are. Just make sure all parts of the thigh are as close in thickness as possible.
The Results:
This technique resulted in chicken that was juicy, tender and succulent all the way through. No part of the breast or thigh dried out or burned, because each piece was uniform.
"The thighs cook quickly and evenly. There's no time for them to dry out," says Jade. (See Jade's Fried Chicken Katsu Recipe)
Liv found a way to make simple grilled boneless skinless breasts super succulent and satisfying.